How to install Windows 10 IoT Core on Intel Joule
During the last Intel® IDF in San Francisco, the Intel Joule board was presented supporting 3 different OS BSP: Ostro, Ubuntu and Windows 10 IoT Core.
For the first two OS the images was published at IDF time. For Windows 10 IoT Core the public image and support has published in mid October.
As all the other Windows 10 IoT Core images for other supported boards, the distribution is located in an unique site:
I'll try to graphically describe the step by step procedure that Microsoft publish to prepare and flash the board.
I’m writing this because I hear some concern from some persons to follow and understand all the spets involving this procedure, for this reason I’m creating a full “coloured book” of the installation procedure.
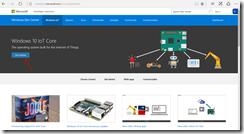
The previous link show the following page:
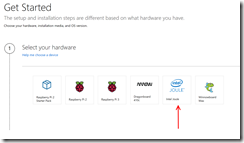
Clicking on “Get Started” reach the page:
Selecting the Joule icon you’ll see the Step 2 and click next.
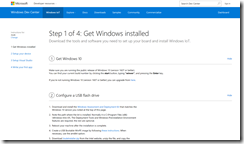
You’ll now reach the page with the full list of operation to do specifically for Joule, that I’m actually trying to explain. (This is the page direct link )
Now the step will not essentially be very fast to follow, in some case we could have to install something before approach the next step.
You’ll need a PC with WIndows10 (version 1607 o later) installed.
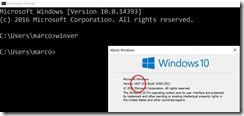
Open a CMD shell from start button and type the command:
winver as in picture:
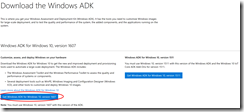
On this PC you have to install the Windows Assessment and Deployment Kit
In my case I have to install the 1607 version as the previous winver command tell me.
When the setup of WADK is done we can continue with the next steps, first of all restart the PC.
Note that the previous installation create in your Windows installation some new folder under “Program FIles” and specifically (in case of standard installation) “Program Files (x86)\Windows Kits\10\”.
Following the instruction in this article, create a bootable WinPE USB key referring to the amd64 version (the joule install a x64 version of Windows10).
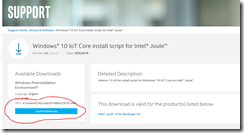
Then from the Intel Download center get the zip file with a couple of important script we’ll need later.
Save the JouleInstaller.zip file locally on your PC and unpack it. Then copy the JouleInstaller.cmd file in the root of the WinPE USB key.
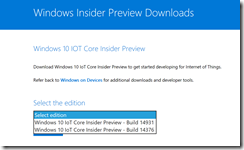
Now it’s time to download the image of Windows10 IoT Core for our Joule from this link. Obviously the current version could have a release version greather than the one in figure (Microsoft release the insider preview images also for IoT Core)
Once selected the version click “Confirm”, in the next menu select that you want downlad the Joule distribution and click “Confirm” again.
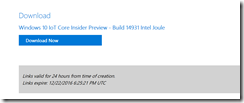
The page will generate a temporary download link for your selection. CLick on “Download Now” and save the ISO file locally on your PC.
When the download has done, double click on the ISO file in order to mount and open it.
When the virtual DVD unit will open double click on the “Windows 10 IoT Core for Broxton” file. When the setup has done, under “\Program Files (x86)\Microsoft IoT\FFU\Broxton” folder you’ll find the Flash.FFU file representing the real OS image.
It’s now time to copy this file in the WinPE USB key, we’re almost ready to get our Joule board and start working on it.
Let’s get you Intel Joule board, aand the following:
- -12V, 3A power adapter (power adapter must be Listed LPS or Class 2 output rated, 12Vdc, 3A minimum) with barrel jack for powering the expansion board. The barrel dimensions are 5.5mm outer diameter, and 2.1mm inner diameter. The barrel length is ~9-10mm. The plug is positive center.
- -Micro HDMI cable and monitor
- -POWERED USB 3.0 hub. The development platform has only one Type A USB port. The Type B and C ports should not be used unless directed.
- -USB keyboard and mouse.
- All these are needed to boot the board, run into the BIOS, change some parameters and then boot into Windows CLI interface in order to flash the OS image inside the board.
First of all, we’ve to check which firmware version is installed on our board and eventually update it from the Intel Software page.
Considering the number of board actually distributed, we can easily consider to have an updated version of it and skip to the next step.
Connect, the USB hub with keyboard and mouse, insert the hdmi cable, plug the power adaptor and start the board.
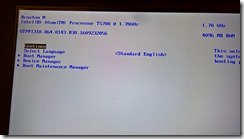
When the board boot-up press the F2 button on the keyboard to enter the BIOS (if you miss it, restart the board and retry).
You probably see a screen like the following:
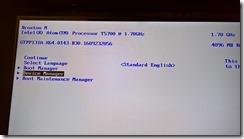
Using the cursor keys scroll to “Device Manager” and press Enter,
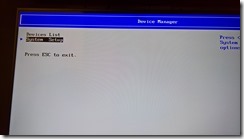
From the following menu choose, System Setup and press Enter,
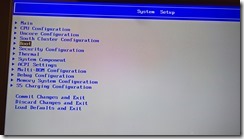
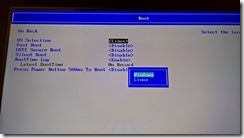
In the next screen select Boot
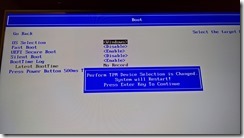
From the OS Selection option press enter and choose between the option “Windows” and confirm with enter.
Pressing F4 you’ll be asked to save the changes and reboot the board.
Remember to put the WinPE USB Key in the USB Hub before reboot the board (the system will “see” the boot key at next start).
At following boot, press F2 again to enter BIOS, select in sequence: “Boot Manager” and in the next screen EFI USB Device. Pressing Enter the board will reboot.
Let the board boot from the USB Key.
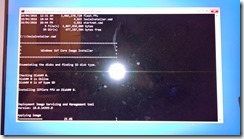
The boot will stop in a Command prompt window, there you have to type “C:” to change the active unit where is mapped the USB key (usually C: or D: )
From there type the command: “JouleInstaller.cmd” and Enter. This script will flash the OS in the internal eMMC (the operation will show a percentage advancing till the end of the operation)
At the end of the flashing operation th prompt will return to the original drive.
Type “WPEUTIL reboot” to restart the board.
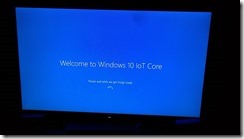
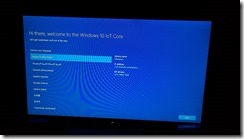
The next boot sequence provide the first configuration for the system.
OK, now you are running Windows 10 IoT Core on your Intel Joule!
